2010-12-20

December 21st

**Welcome to my little Christmas blog! Here you'll find something Christmassy every single day until the big celebration on 25th of December! Some of the things I have created myself and some have been made by you, my dearest readers!
Thank you and the Happiest Holidays!**

DECEMBER 21st

Today's festive Christmas post was written for me by one of my wonderful readers, Karen!
Today is a very special day for her family, as it is his sons birthday! They celebrate it by going out into the country to find a Yule Log to burn in their fire. They also enjoy Mullet cider and special Yule biscuits today.
Karen was so kind that she sent me the most delicious cookie and Mullet Cider recipes which I am going to share with you!
Today is also the day for Karen's family to bring in the festive greenery. This all sounds so lovely, and it's my plan for this evening, too. I'll only add one thing, can you spot it in my pictures?

Thank you so much for sharing this with us, Karen!


Mullet Cider

2 litres of local cider
cloves
cinnamon sticks
grated nutmeg

Warm and enjoy!


Yule biscuits

100 gm butter
2 tbsp honey
2 egg yolks
150 gm plain flour
50gm ground hazelnuts or almonds
pinch of cinnamon
grated nutmeg
a few drops of vanilla extract

Blend butter, honey, egg yolk and vanilla together until you have a thick paste. Mix all dried ingredients together and add to the paste a little at a time until you have a stiff dough. Chill briefly and then roll out. Cut into festive shapes on baking parchment for about 15 minutes at 160 deg.
Enjoy!

Happy December 21st and Winter Solstice!

Yours,
Mia

December 20th

**Welcome to my little Christmas blog! Here you'll find something Christmassy every single day until the big celebration on 25th of December! Some of the things I have created myself and some have been made by you, my dearest readers!
Thank you and the Happiest Holidays!**

DECEMBER 20th

Many, many beautiful Christmas cards have already arrived, and if we're lucky, there will be more coming this week. So I wanted to create a quick and fun solution to show them off!


You'll need:

a cork pin board or thick cardboard
fabric of your choice
pins or a nails
thread, string or ribbon
(optional: a stable gun, little wooden pecks)


I have two of these old cork pin boards unused, so smaller of them was just perfect for this project. I also had a fun Christmassy snowmen fabric I found in a thrifshop last year. Place the fabric on the floor (right side facing the floor) and place the pin board or thick cardboard on top. I used a stable gun I borrowed from my brother-in-law (Thanks, T!) to gun the fabric in place, but this could definitely be done by pins too, and then you could just remove the fabric after Christmas for other use if wanted. I gunned my fabric to the wooden frame, but pins would be nice and easy to place into the cork or cardboard.

Then the thread or string. I didn't have a long enough silk ribbon in my stash in right color (this can happen!) so I opted for a quite wide package trim instead. I pinned it in place with plastic pins normally used to keep things in cork board, and this was wise move as the string needed to be tightened several times before it was nice and tight. So the pins are an easy solution, and they can be moved around. My board has string in straight lines, but other designs would be pretty too.

Now it's time to start putting the cards on board! If some are heavy, you can also use pins on this side, or like me, I had some little snowman wooden pecks in my stash. This board brightens up our hall now, and later on I might add a few Christmassy photos too...

Happy December 20th!

Yours,
Mia

2010-12-19

December 19th

**Welcome to my little Christmas blog! Here you'll find something Christmassy every single day until the big celebration on 25th of December! Some of the things I have created myself and some have been made by you, my dearest readers!
Thank you and the Happiest Holidays!**

DECEMBER 19th

Making gingerbread men is not that festive to show, even though it's definitely something Christmassy. But when it's made with little helping hands, it makes it something special. I wish you enjoy these happy images as much as we did when they were taken!


You'll need:

gingerbread dough
molds
happy little helping hands


Oh how much a simple dough can be! Rolling is the best!


Cut and eat, cut and eat, cut and eat...


Perfect, every single of them in their own way.


Mmmmm...


Happy December 19th and the Fourth Advent Sunday!

Yours,
Mia

2010-12-18

December 18th

**Welcome to my little Christmas blog! Here you'll find something Christmassy every single day until the big celebration on 25th of December! Some of the things I have created myself and some have been made by you, my dearest readers!
Thank you and the Happiest Holidays!**

DECEMBER 18th

I love making things myself, and try to make my Christmas presents look unique not only inside but outside too. This year I chose the wrapping papers from a shop as I just didn't find time to sew the gift bags, but wanted my packages to have a handmade feel still.

You'll need:
paper and cardboard (you can buy new, but I used my smallest scraps left from other paper crafts)
scissors
glue
string or thread
needle
pen
(optional: wrapping paper to match)


I studied my pretty wrapping papers, and chose some colors and images out of them. This is totally optional, but I just...Like my things to match.

I started cutting little tags out of different colored papers, and cut some hearts, snowmen, stars and even some reindeer. I used glue, and wrote the Happy Holidays wishes on back with black marker. I also left a space for name.

Happy December 18th!

Yours,
Mia

P.S.I used a basic white cotton thread as string, and a sewing needle helped a lot. Just poke the needle and thread through the tag from back to front, and to the same hole again (this time from front to back). Leave a little loop in front. Remove the needle, and take both of the thread ends through the loop. Tighten the threads and make a knot on the end.

2010-12-17

December 17th

**Welcome to my little Christmas blog! Here you'll find something Christmassy every single day until the big celebration on 25th of December! Some of the things I have created myself and some have been made by you, my dearest readers!
Thank you and the Happiest Holidays!**

DECEMBER 17th

Today I wanted to share with you, my dear readers, little corners of our house.We do not have that many rooms, but we have many lights. We have them in every room, and some of them are beautiful, some colorful and some just plain silly to bring smile on our faces.
With these lights I wish you happy and peaceful weekend.
It's only a week until Christmas, let's enjoy!

Happy December 17th!

Yours,
Mia

2010-12-16

December 16th

**Welcome to my little Christmas blog! Here you'll find something Christmassy every single day until the big celebration on 25th of December! Some of the things I have created myself and some have been made by you, my dearest readers!
Thank you and the Happiest Holidays!**

DECEMBER 16th

Christmas is slowly sneaking into every room of our house, there are candles here and there, some hyacinths, red curtains in kitchen...
How about the working spaces or study? Mine is full of all sort of things and colors already with my fabrics and wools, so the decorations will not be that colorful. I have an old blue sofa there, and matching blue-white birds in the window and pretty candle holders there too but still something was needed...

You'll need:

old sweater (wool would be great)
felt fabric
scissors
needle&thread
tape measure
ribbon or string
pillow to put into your new cover
(optional: sewing machine, iron on interfacing)

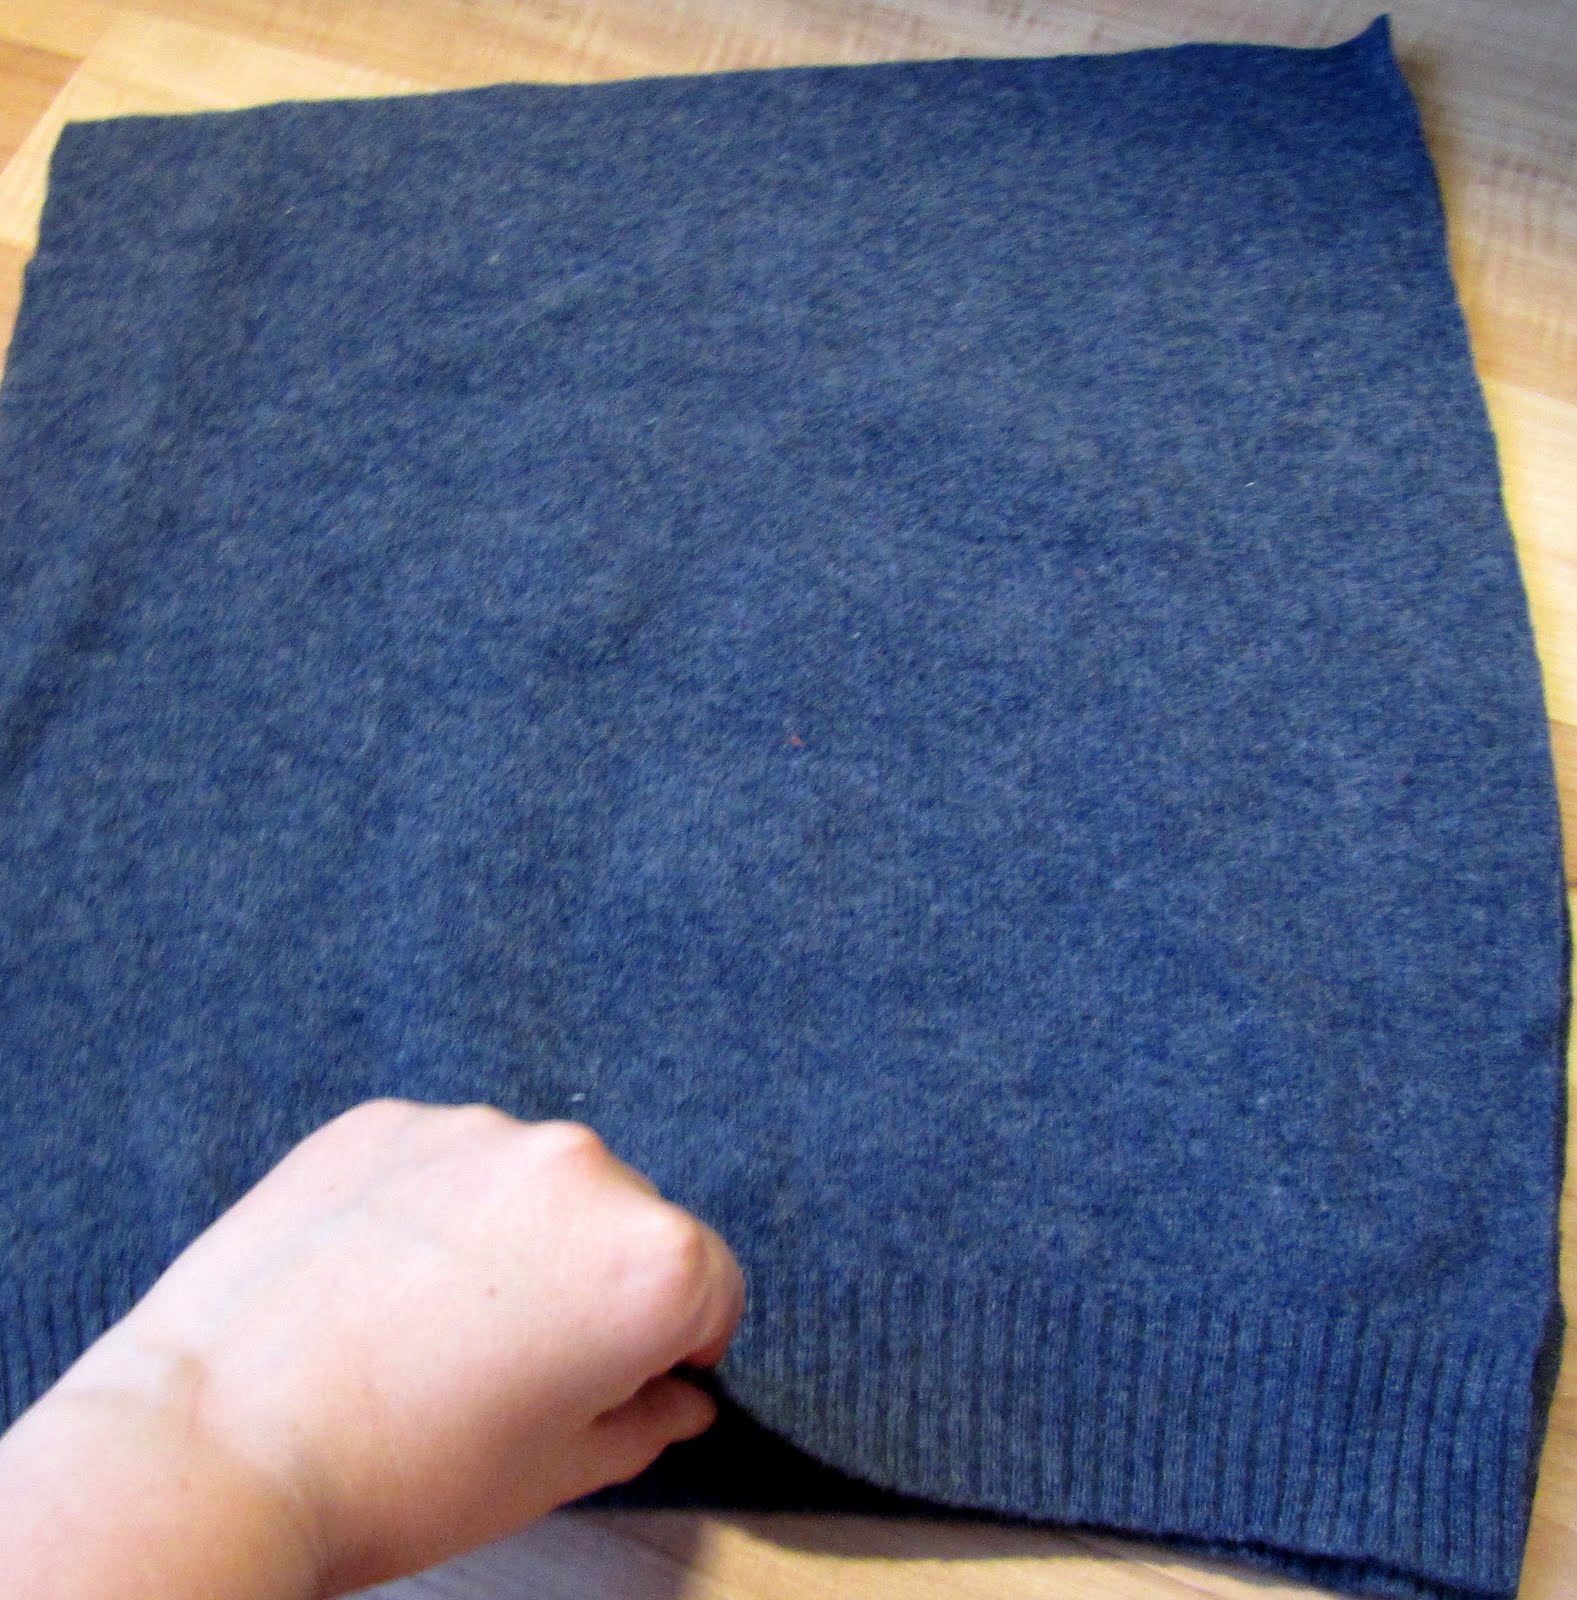
You can get an old sweater from a local thrift store or maybe like me, you have one lying around already? I gave mine a little spin in washing machine so it's not completely felted, just little thicker. It says hand wash in the label so warm water and short program will do greatly.

Measure the pillow you like to use, and make sure there's enough material. The wool will stretch, so no worries for every inch here. When you know your measures, cut the jersey into right size. If yours, like mine, has a rib in bottom, that will be used as opening as it's nice and pretty and doesn't need any sewing.

When you have a right sized pieces, it's time to decorate your pillow cover! Choose the opening (either on side or down like mine) and check, that the rib is facing to right direction before you start! You can use anything you like (and so it'll fit into your decorations!) but my study has blue&white colors in it so I chose those and added a bit of red too.
I sew a washing line into my pillow using white cotton yarn and quite thick needle. And I didn't even try to go straight - this is a handmade pillow cover!
Quick and easy!


Then I cut out of my white and blue and red felt some pretty Christmas stockings and sew them hanging in my washing line. This can be done by hand easily, but as I am a hardcore sewing machine user, I used it for this too. If you use machine, it would be great to iron some interfacing on back to the felt so it doesn't stretch that easily. I also left the little socks open from up, who knows if they'll be filled later on...

When your decorations are finished, place the right sides together, use pins to hold, and sew the case together. Start from the bottom rib and go all the way round until you reach the rib again in bottom. This can easily be done by hand, but I again used my machine, and before sewing with it, I ironed some interfacing to the seams again so it's easier to sew (and again: no stretching!).


Turn your pillow case around and stuff with your pillow. Does it need some ribbon for closing? If so, take your pillow out, measure the middle of your rib, and mark it with needle. Cut two pieces of your ribbon (10" or so, long enough to tie) and sew bits in both parts of the case. This can be done by hand or machine. Stuff the pillow again and tie the ribbons.
You're done!


Happy December 16th!

Yours,
Mia

2010-12-15

December 15th

** Welcome to my little Christmas blog! Here you'll find something Christmassy every single day until the big celebration on 25th of December! Some of the things I have created myself and some have been made by you, my dearest readers!
Thank you and the Happiest Holidays!**

DECEMBER 15th

When the mornings are dark, and you really need to get up and get things started, how do you get a holiday feel from the morning? Oh, the calendar, for sure, but I am not even wake yet when I reach mine. But the breakfast...

You'll need:

bred roll (bun) dough
gingerbread mold of your choice

(optional: your favorite Christmas mug or cup)


Make the dough as usual, and lay it on the table.
Roll dough quite thin and use your mold to m
ake buns.
Bake and...

...enjoy with some good coffee or mullet wine (sans wine in the morning?) from your favorite Christmas mug. And an adorable book. The regular breakfast made all Christmassy!

Happy December 15th!

Yours,
Mia
This time of the year...

Usually around this time, when children go back to school, and you can just about to smell the autumn, I start to dig deeper in my fabric...