2010-12-10

December 10th

** Welcome to my little Christmas blog! Here you'll find something Christmassy every single day until the big celebration on 25th of December! Some of the things I have created myself and some have been made by you, my dearest readers!
Thank you and the Happiest Holidays!**

DECEMBE
R 10th

It's funny how old things, those you've seen many, many times suddenly give you an idea for something new. I've never been a huge fan of those paper-garlands with figures holding hands (dancing elves for instance) but the idea of those just didn't leave me alone. I started to think something simple and easy to decorate an empty window (yes, there still was one!).


All you need:

paper (mine's regular white printing paper)
pen
scissors
(tape if you're putting the figures into window, doubl
e-sided is great)


Fold the A4 paper in two and cut it half. I managed with scissors this time but if you make many, a paper cutter will be an easy option to cut many papers at the same time.


Fold the "half" still once from the middle and still twice so that you'll end up with "M" or "W" shaped of paper.

Now the paper is ready for drawing a wanted figure into it.
I draw mine to the paper which can be opened like a book,
the folds were on my left hand side.
I chose a simple bird, but snowman or Christmas tree
or a heart would be pretty too.
When yo
u design your figure, it's important to remember, that the design needs to be attached to both edges of the paper
in order to figures "hold hands" or in my case beaks and tails.
This is very important when cutting too,
otherwise you'll end with four pretty yet individual birds!

I draw some "snow" and left the down-part straight as I had a window in mind.
The design could be much more decorative!


Cut, cut, cut away - and be careful not to cut the edges (see my birds beak and tail)! After cutting one you can use it to draw the others, so you'll end up similar designs if you wanted to put them
one after another like the little birdies in my window.
Then you can open the folds - and you should end up with four figures attached to each other! It's a miracle of paper crafts I say!


Then it's time to decorate!
My birdies are kissing happily in
our bedroom window!

Happy December 10th!

Yours,
Mia

2010-12-09

December 9th

** Welcome to my little Christmas blog! Here you'll find something Christmassy every single day until the big celebration on 25th of December! Some of the things I have created myself and some have been made by you, my dearest readers!
Thank you and the Happiest Holidays!**

DECEMBER 9th

Christmas is time, when you can buy and make things, which have no other purpose than making you happy and smile. This little pig (and its friends to come) is just like that. I hope that by the end of this post you have smile on your face!

You'll need:

any fabric with a big and bold print large enough to make a little pillow
sewing machine or needle and thread
knitting needle
stuffing
(optional: iron-on interfacing fabric)

I found this cute pig-fabric last summer from a local thrift shop. It was a pillowcase, but I definitely wanted it for its figures! On one side there are four smaller pigs and on the other a large pink sow.
Hmm...That I'll pass still this year!

My Swedish language is not as good as it used to be, but I think these pigs have texts saying "smutsgris" and "godisgris", gris meaning a pig.
So the gray ones are little messy-pigs and the green ones are candy-pigs,
and who guess which one I chose?


I cut the pig out of the pillowcase and ironed an extra layer of interfacing into it. I also chose backing fabric for this pig, but next will have pig both sides ("godisgris"). I interfaced the back-fabric just in case too, and cut the pig-image quite close to the edges.

Then it's time to sew. Place the right sides together, and sew (I used a machine, this could be done by hand too if done very carefully?) quite close to pig-edges. Remember to leave a gap which you first use for turning the pig right sides up again, and then stuffing. It's also quite important to cut notches to any curvy-places (like next the little claws) so the shape will be pretty when turned and stuffed, and the seams will not be wrinkly.


Turn your pig right side up, and use a knitting needle or any stick to poke the ears and claws out good. Insert enough stuffing (my pig needed a lot) and use the needle to get the stuffing all the way to ears and snout. Sew the stuffing gap and you have a new happy friend!

Oink-oink! I think I call him Santa´s Little Helper!


Happy December 9th!

Yours,
Mia

2010-12-08

December 8th

** Welcome to my little Christmas blog! Here you'll find something Christmassy every single day until the big celebration on 25th of December! Some of the things I have created myself and some have been made by you, my dearest readers!
Thank you and the Happiest Holidays!**

DECEMBER 8th

Receiving real Christmas cards make me so happy. It seems that so many of us (me included) feel too busy quite often and end up sending an e-mail or even text-message with Happy Holidays greetings. Not quite the same. I have kept cards I have received for many years, and started to think that maybe they could be used again - they're so pretty!

You'll need:

old (or new! to make them unique!) Chris
tmas cards, christmassy pictures
glue
scissors
felt fabric
cardboard
pen to write Happy Holid
ays
sewing machine
(optional, you can use glue only for beautiful cards)
(a paper cutter)


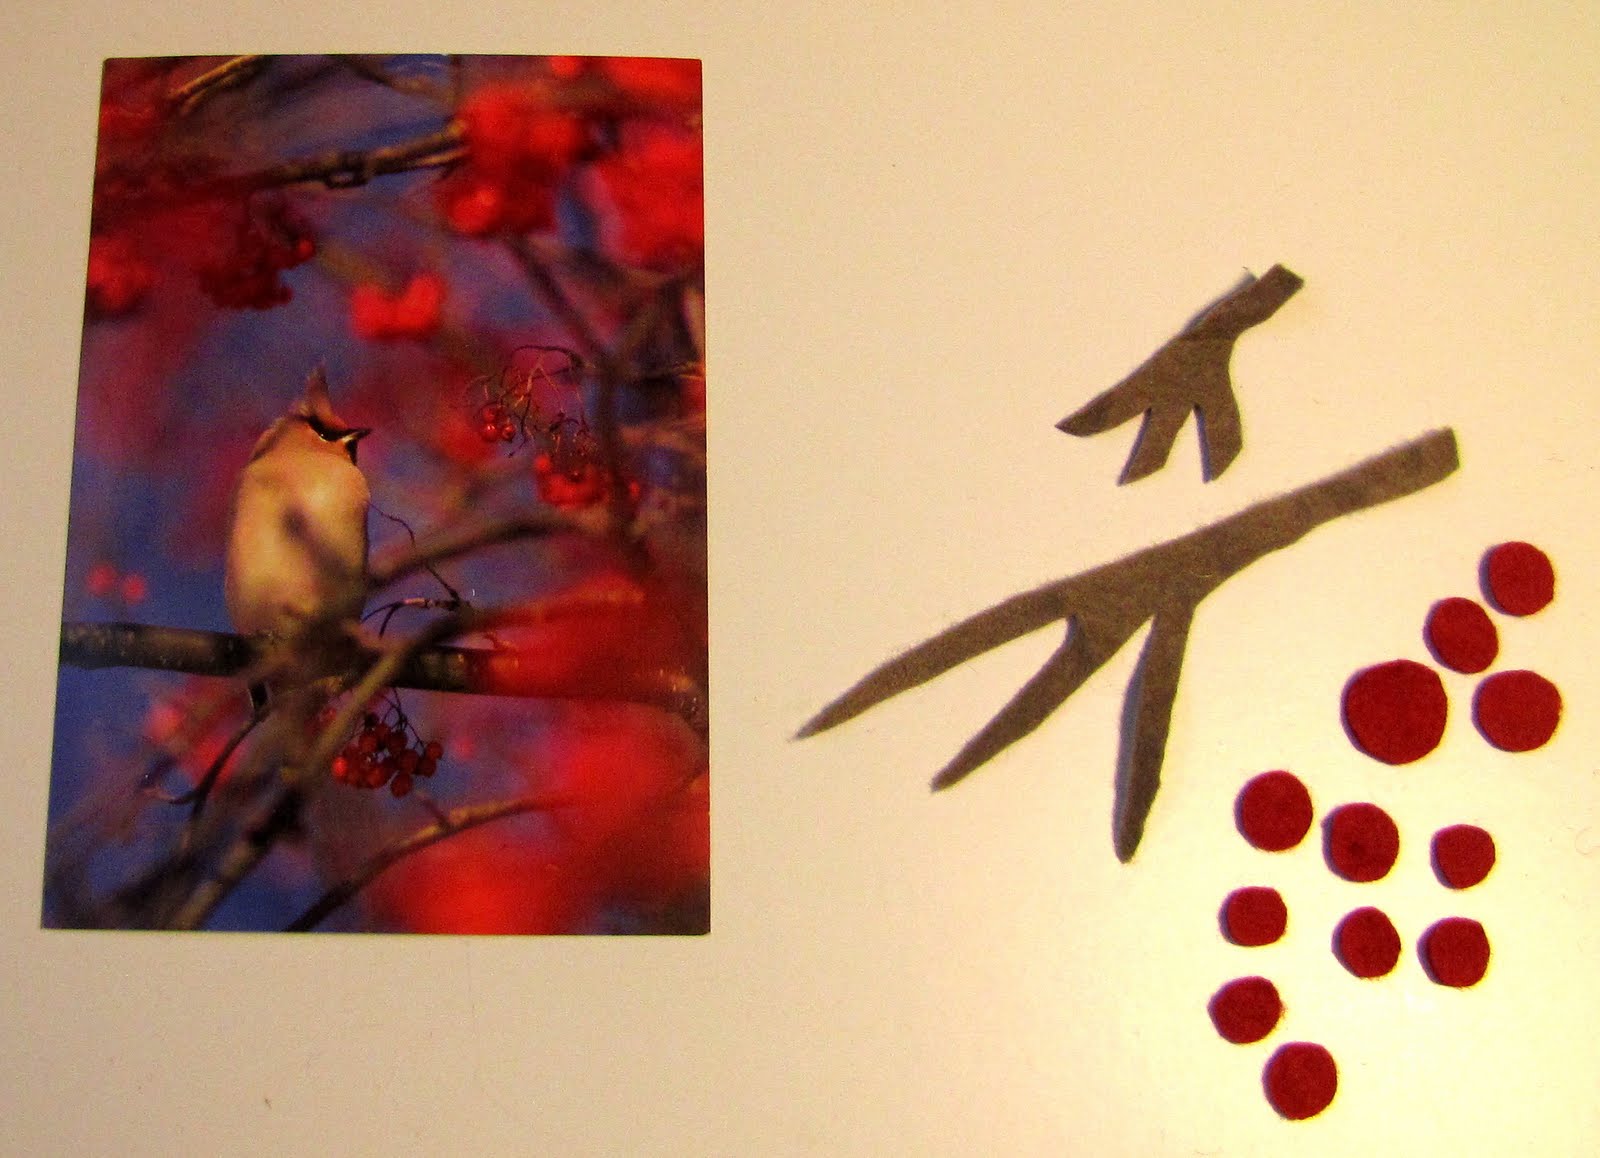
Choose a card you want to decorate. I chose a pretty waxwing in a rowan tree. I studied the card for a while, and then cut from light brown felt some new branches and used red felt to make many, many red berries.


I placed the branches and berries onto the card and
after I was happy with the design, I used glue to secure them in place.

Then I took out my beloved sewing machine, and used it to stitch the branches and berries into the card! If you haven't got a machine, or you do not enjoy using one, you can start choosing the cardboard for backing your new-born card now, glue will keep the felted decorations in place.

Stitch slowly and carefully, and when you've done, use a sharp needle to stick the thread ends on the back and knot the ends. Do not worry if they're not perfect, this card will be glued into an another cardboard anyway (mine has some Happy Holiday's on back - this one is reused card).


Choose the most beautiful cardboard (or two like I did!) and cut it into the right size. After a few attempts I took out a paper cutter to make somewhat straight sides, but scissors will do fine. Glue the cards together.


You have an unique Christmas card!


Happy December 8th!

Yours,
Mia

P.S. I am busy with my Christmas-crafts but not so much, that these pictures would be taken during the night! The lack of the light is permanent here this time of the year, and today sun forgot to show at all. It's the candle-time!

2010-12-07

December 7th

** Welcome to my little Christmas blog! Here you'll find something Christmassy every single day until the big celebration on 25th of December! Some of the things I have created myself and some have been made by you, my dearest readers!
Thank you and the Happiest Holidays!**

DECEMBER 7th

The ability to put colors and materials together in a way, that in the very beginning you just cannot tell what the finished piece will look like is something I really admire - I love surprises! Take these beautiful fabrics for instance: some flowers, some dots and some plaid. What do you think Kerry from verykerryberry have planned for you, my dearest readers?


I have admired Kerry's beautiful patchwork pieces and read her great tutorials, and oh how pretty things there are in her shop. Now she had designed something especially for my Christmas-blog and for us all to enjoy and make - please go and have a look yourself!

Thank you so much, Kerry!

***

Today is also the day for the little snowman to find himself a new home! Thank you so much all of you who commented - made me very happy.


There were twelve of you and I numbered your comments 1-12. I used the random number generator to pick up the winner this time, and it was number 5 - congratulations Jane!
I will contact you asap and ship your scarf soon!


Happy December 7th!

Yours,
Mia

This time of the year...

Usually around this time, when children go back to school, and you can just about to smell the autumn, I start to dig deeper in my fabric...